IOS For Beginners
What is iOS?
IOS is iPhone operating system designed by Apple for its hardware. It recognizes the gestures like tap, scale, scroll, etc. Usually Apple releases its update annually. Each update has performance boost and advanced technologies.
Requirements For iOS App Development
1- iMac
2- Xcode (an apple application used to make apps)
3- Basic knowledge of coding
You can download Xcode directly from the mac app store.
Xcode contains 2 languages.
1- Swift (more preferable)
2- Objective-C
Let’s Start With Swift
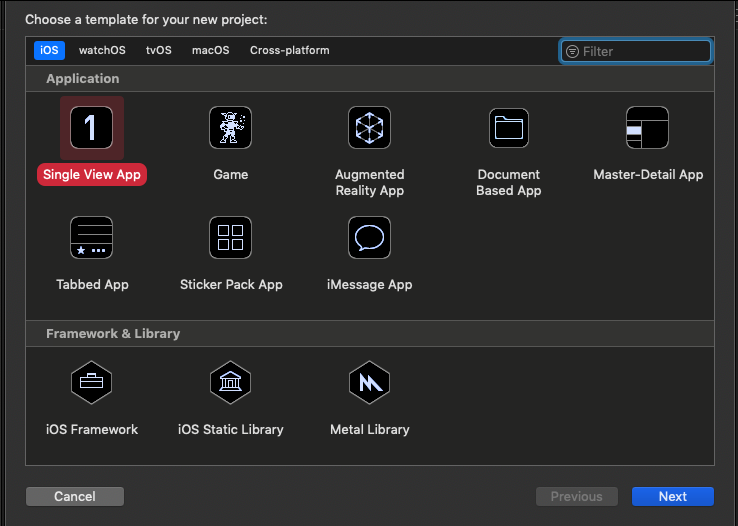
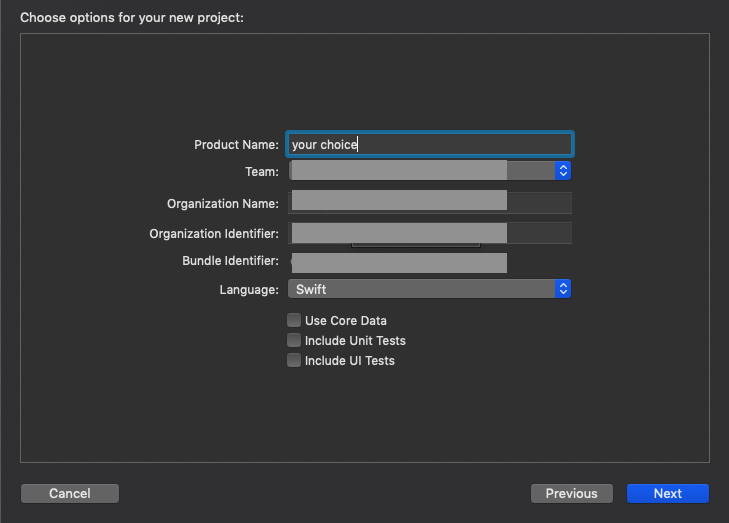
- Xcode > Create a new Xcode project > Single view application > Product name and set language as Swift > Select your path where you want to store your project and Click Create Button.
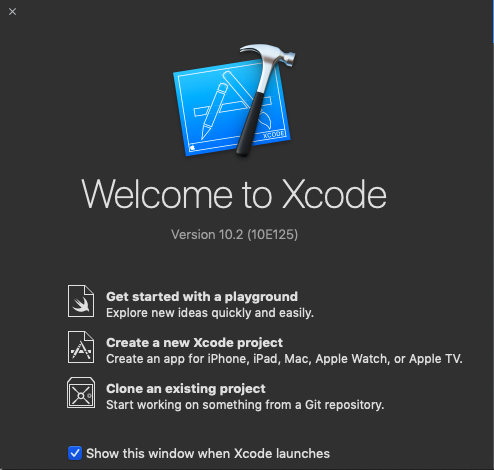
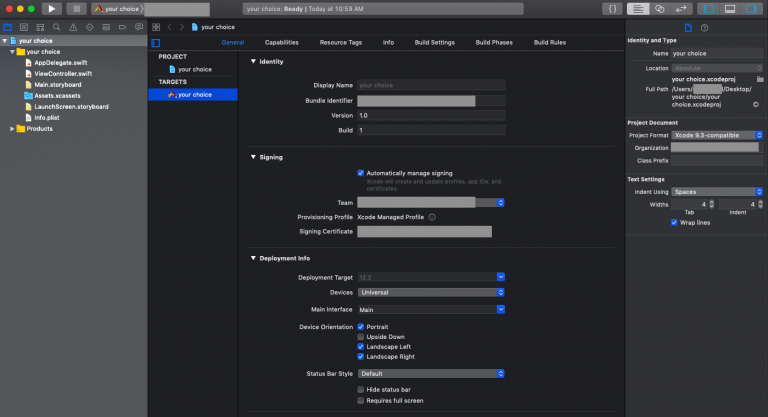
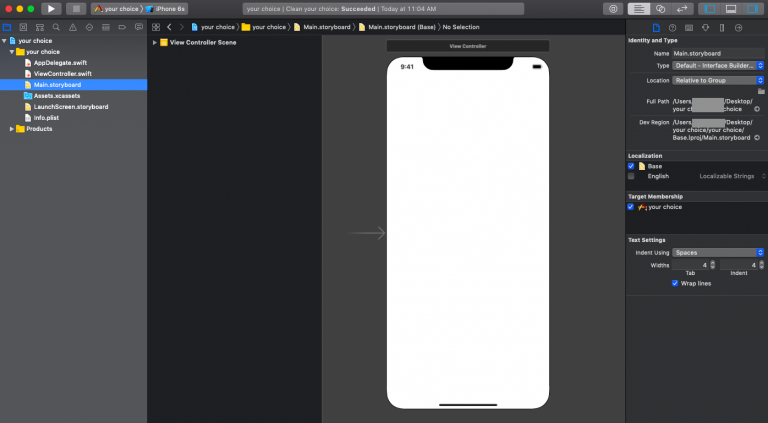
Now all the designing work will be done in main storyboard and coding will be done in .swift files which can be accessed from your left hand side of the Xcode screen.
Below are the screenshots which will help you.
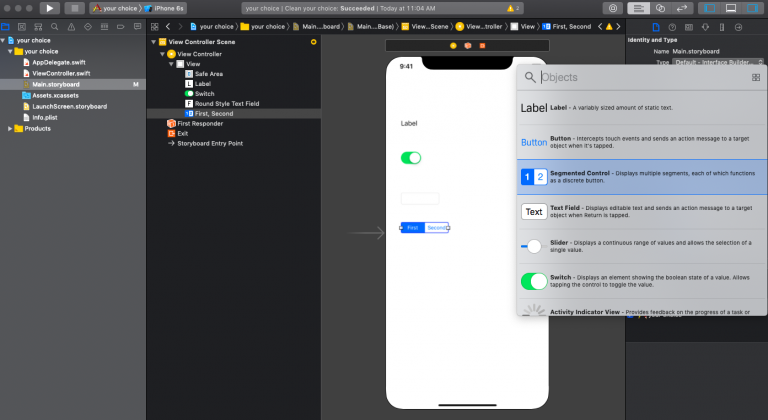
Stay on main storyboard and click on library icon (top right of the screen) where you will find all objects and just drag and drop the objects and check all the attributes of the objects in file attributes (4th icon from top right and 2nd row).
Here are the topics in ascending order which you should start practicing initially.
- Outlets and actions
- Constraints
- Image View
- Table View
- Collection View
- Scroll View
You must know the working of all the methods related to specific object which we want to use.
Watch different demos available on various platforms and practice it accordingly.
1. Outlets and actions:
- Outlets are used to access an object anywhere in the code.
- Actions are used to give a particular action to the object.
- For example, you want to go to new page on a button click, then you need to create buttons action and write the code inside the function of action.
- How to create an outlet or action?
- Just right click on the object you have taken in main storyboard and drag it to the .swift file (ie your code file).
- Then select an action or an outlet as per your needs.
2. Constraints:
- This field comes under designing.
- Constraints means, defining a specific boundaries to a particular object.
- It is used just because our app should look same in every ios device.
3. Image view:
- Image view is used to put any external image in our storyboard.
4. Table view:
- Table view is basically a set of rows, cells and sections.
- Consider a settings page, it is a table view of multiple rows and sections.
- All the methods (must learn) related to it are in Apple developer documentation which you can find it on their website.
- Let me show you my Table View example.
5. Collection view:
- Collection view contains items in a section.
- Consider a photos app, it is a collection view of multiple sections with many items in it.
- All the methods (must learn) related to it are in Apple developer documentation which you can find it on their website.
6. Scroll view:
- Scroll view is used just because if we use the app by rotating the screen then too our app should be visible, there is where scroll view comes into picture.
Let’s Start With Basic App Demo:
This is my 1st screen which is a login page
- Labels used are – Hello there!, Please sign in to continue, User Id/Email, Password.
- Buttons used are Forgot password?, Sign up if you’re new!! , Arrow, Remember me.
- Text fields are used to get the input from the user.

This is my second screen which comes on click of arrow button
- I gave the action to the arrow button and wrote the code for it. I have created cells and rows here. Watch Table views demo for proper practicing.
- Source code: For button click to new view controller
@IBAction func btn_click(_ sender: Any)
{
   let vc = YourViewController(nibName: "YourViewController", bundle: nil)navigationController?.pushViewController(vc, animated: true)
}
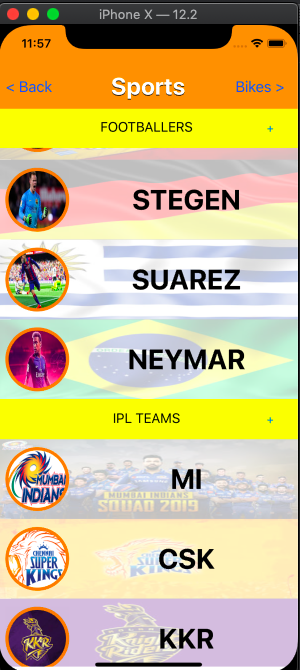
This is my 3rd and the final screen
- This is a collection view where i have created sections, cells and items. In cell i have used imgview and label.
- Also going back to previous screen will be a question for you.
- I have used gesture recognizer for it.
- Let me show the source code for it.
override func viewDidLoad()
{
  self.navigationController?.interactivePopGestureRecognizer?.delegate = self as? UIGestureRecognizerDelegate

  self.navigationController?.interactivePopGestureRecognizer?.isEnabled = true

  super.viewDidLoad()

}