How to publish your library to jCenter
So let’s begin!
Step 1: Build your library
First you must create sample project.
https://developer.android.com/studio/projects/create-project
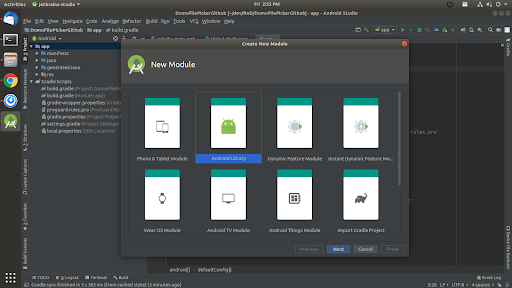
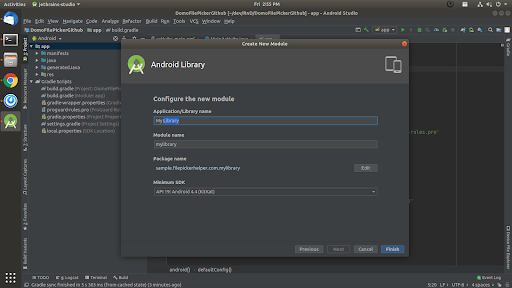
Click here to open bintray website.
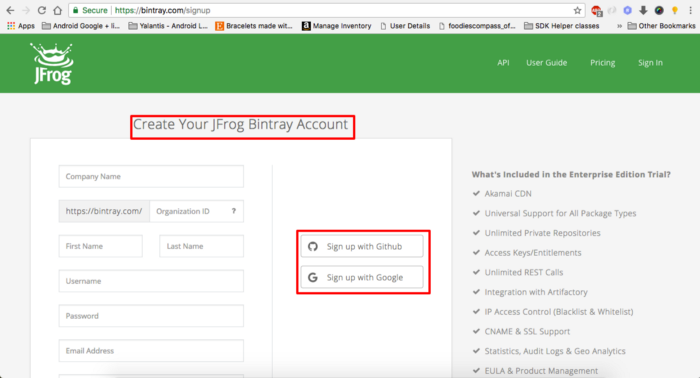
Note: For now, we are creating a free account, which means all the projects added to Bintray should be open sourced.
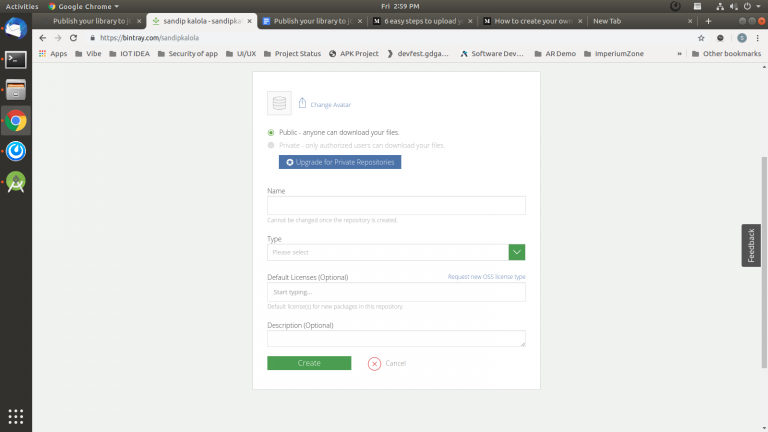
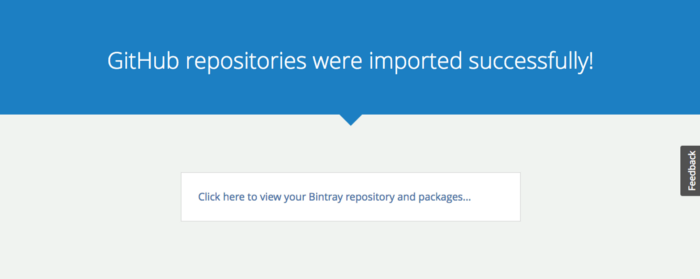
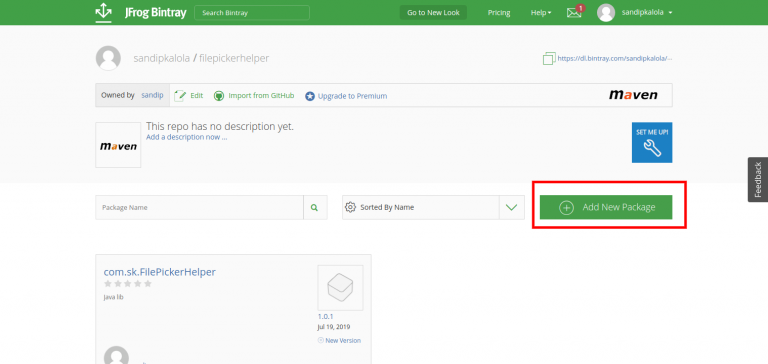
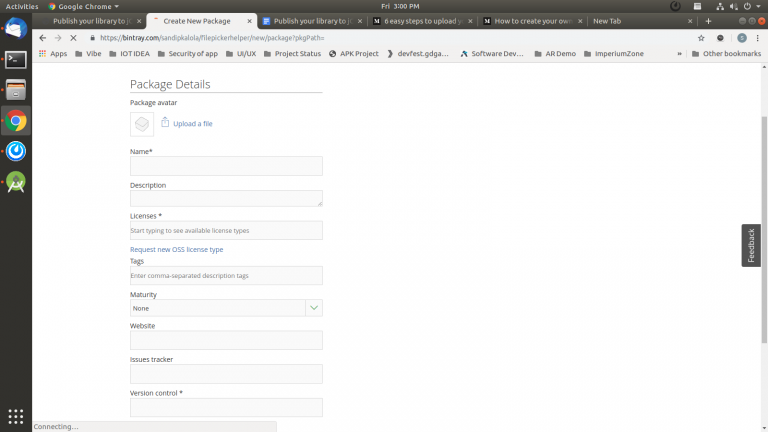
After you register an account, create new Repositories.
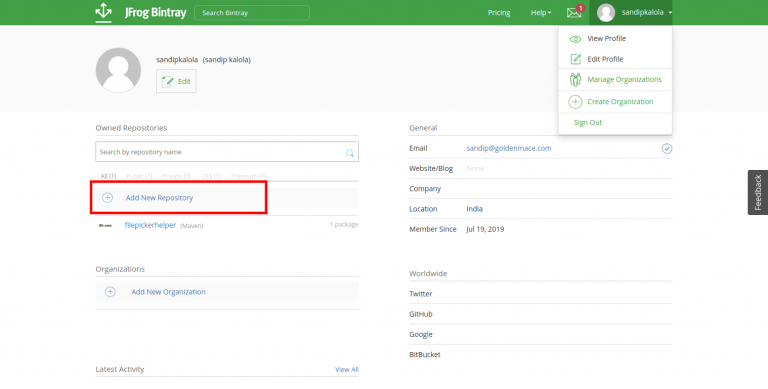
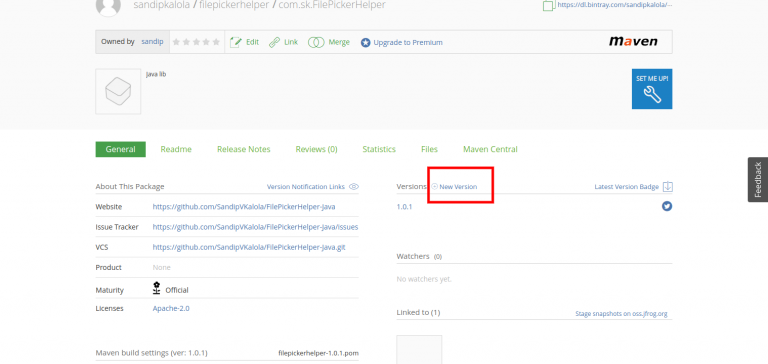
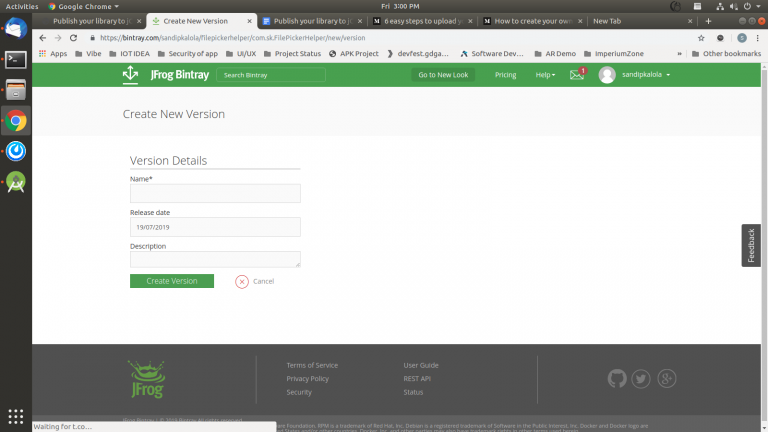
Now, let’s add the bintray to our project. There is a great plugin that is available which makes it super easy to upload our library to bintray. Let’s add that to our project.
Add to the project build.gradle file the following dependencies:
dependencies {
    classpath 'com.android.tools.build:gradle:3.4.2'
    classpath 'com.jfrog.bintray.gradle:gradle-bintray-plugin:1.2'
    classpath 'com.github.dcendents:android-maven-gradle-plugin:1.5'
}
bintray.user=YOUR_USERNAME
bintray.apikey=YOUR_API_KEY
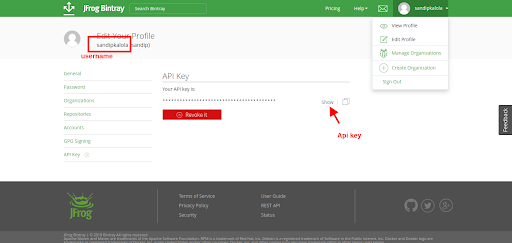
Download bintray.gradle content from below link.
https://github.com/SandipVKalola/FilePickerHelper-Java/blob/master/filepickerhelper/bintray.gradle
apply from: 'install.gradle'
apply from: 'bintray.gradle'
Step 4: Upload to Bintray
Just execute those two commands in your terminal and your library will be uploaded to bintray.
./gradlew install
./gradlew bintrayUpload
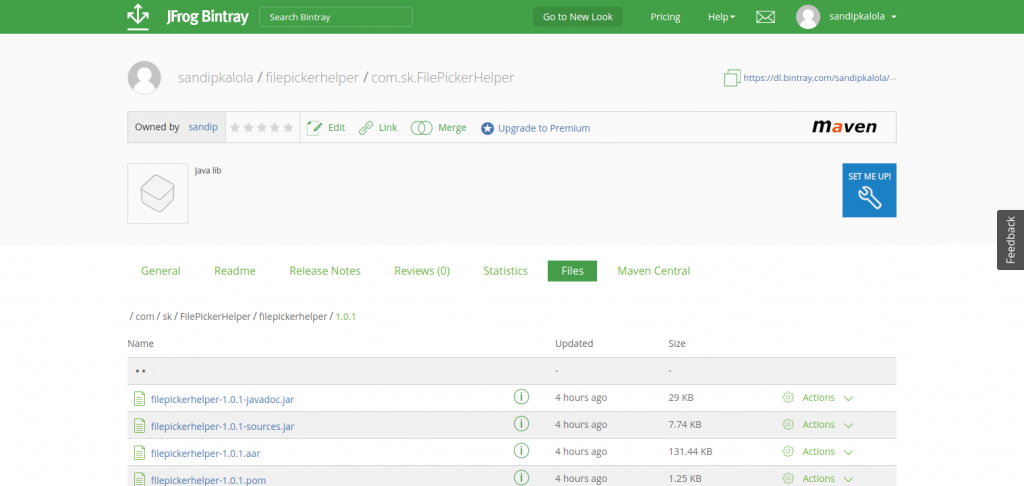
compile 'com.sk.FilePickerHelper:filepickerhelper:1.0.1'
